Showing posts with label Fun Learning Games. Show all posts

Home made I SPY GAME

These are fun to make as you can design it however you want and either make random ones like I have or make them with a theme (particular colours, sea creatures, animals, assorted shape buttons).

GREAT FOR THE CAR when going on long trips.

Fantastic for cognitive (thinking) skills. Great for your children's memory and concentration.

I chose 20 random objects (avoid sharp things due to piercing bag) and then I laid them onto paper, ruled lines then placed an item in each section and took photos.

I edited photos by cropping onto a word document and printed it out just from my home printer.

Laminate to keep protected, put a hole punch in the corner then pop through a key ring.

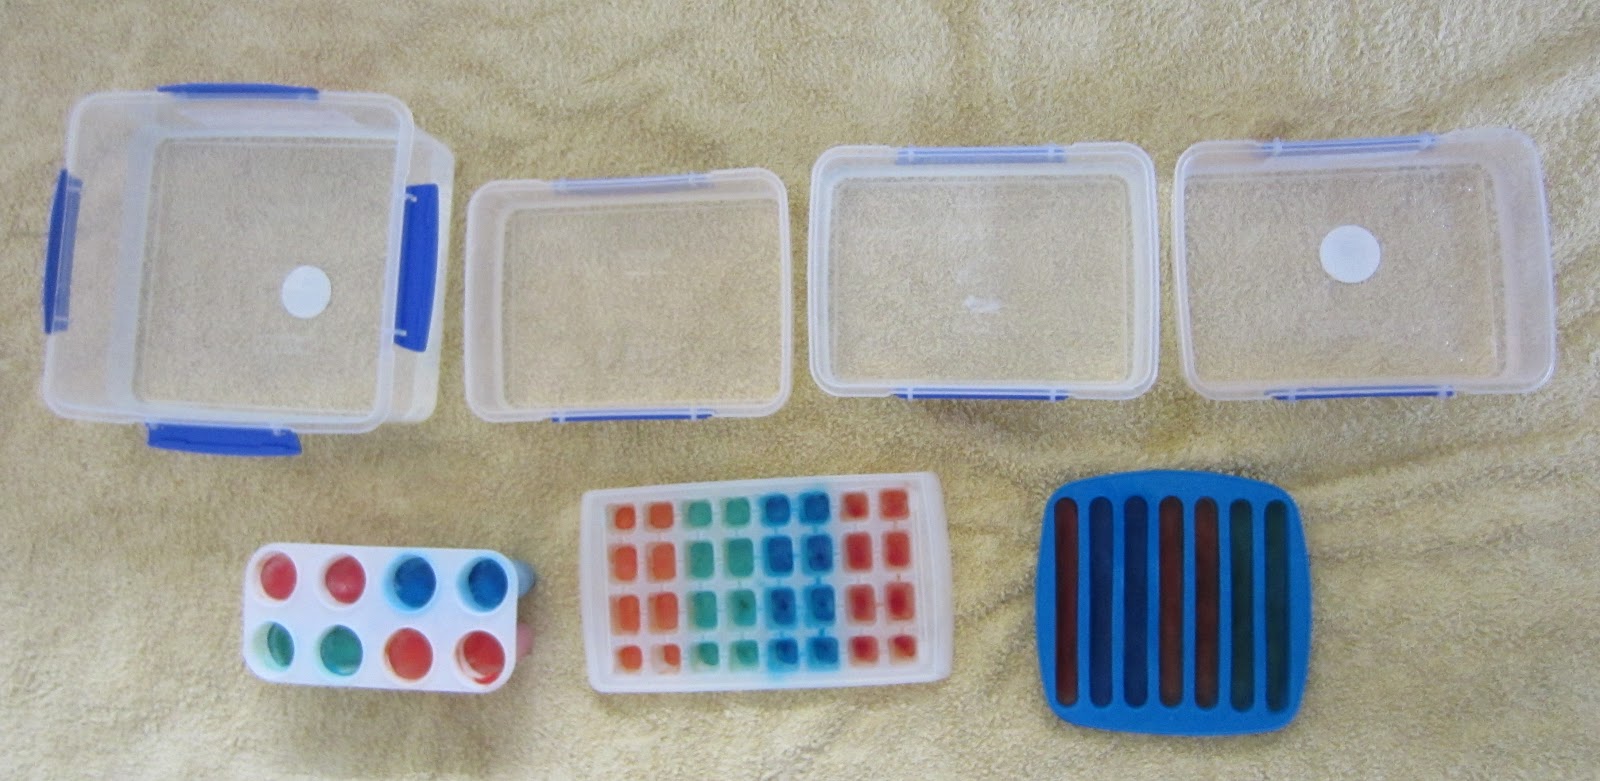
I placed all objects into a zip lock bag once I had taken photos, then added rice to fill loosely, still giving room for the rice to be moved around.

Superglue the top closed where you zip it closed, put a whole punch in corner of bag, then join with picture card you have laminated.

All done.... yes it's a bit of work, but I enjoyed making it. It's easy, just a little time consuming with a few steps.

I spy with my little eye....................

Thank you to my sister for giving me this idea :-)

Learning DAYS of the week

Just one fun way to spend time with your children and teach them the days of the week. Oh and we LOVE the Woolworth's song- "Monday Tuesday Wednesday...... I love you", that has really helped us. I have attached the link  http://www.youtube.com/watch?v=e7iT8XzR7G0

You will need:
  • Paper
  • Textas (markers)
  • Stickers
  • Ruler
  • Laminate pouches and laminator
Click here to see my Season and Date Calendar Wheel

COLOUR theme days or activities


My kids already know their colours but that doesn't stop us from loving games that are based around particular colours. You don't need to be learning colours to set up these activities.
 
Here is one example of when we did a YELLOW EXPERIENCE.
 
 I just used an under bed storage container and filled with warm water and yellow food colouring.
 
I collected a bunch of yellow materials that I had in my arts and craft collection. Then used the yellow number mats for padding around the edge for the kids to kneel on.
 
The next day, we followed on with this activity by adding the above materials to their bath with a few drops of yellow food colouring again.

Home made QUOITS

Fantastic for HAND EYE CO-ORDINATION, gross motor skills plus concentration skills.

We have loved playing this. My toddler and preschooler have a blast. 
  • 1 empty tissue box
  • 1 empty paper towel cardboard roll (we stuck some green contact adhesive over it)
  • 10 paper plates.
  1. Cut the middle out of paper plates.
  2. Decorate them with coloured textas (markers).
  3. Put a small hole in bottom of empty tissue box.
  4. Push the large cardboard roll through the hole in tissue box so it fits snugly to stand upright.
Your ready to throw away!


FOIL Night Sky Picture

You will need:
  • Aluminium foil
  • Large black cardboard sheet
  • Cardboard- I just used some from a box (a nappy box is perfect)
  • Scissors
  • Glue
  • Glitter glue
  • Glow in the dark paint (optional)
- Cut out a moon and stars from the (box) cardboard.
- Lay out some foil, glue the back of shapes then stick onto foil.
- Cut around each shape so the foil is covering them the same shape.
- Glue the moon and stars onto  black cardboard in whatever positions you want.
- Decorate with glitter glue.
Stick their foil night sky picture to your children's bedroom wall to display their artwork.

- Optional- Paint the moon and stars or outline them with glow in the dark paint. This way the children can enjoy their very own night sky while laying in their bed at night.

PARENTS: Use this activity as a learning experience with your children by talking with them about the day and night, moon and stars, the atmosphere and the planets.
Once dark, head outside to see if you can spot the moon and stars just like their picture.

MARBLE Paintings

This activity is fun and creative for the kids but also great for hand eye co-ordination as they use their hands to balance the tray and get the marbles to roll through the blobs of paint.

You will need:

Oven Tray
Paper
Marbles - any size
Coloured Paints
 
    Place paper into oven tray, try to choose paper size as close to tray size as possible. I cut an A4 sheet to fit.
 
Put blobs of paint over paper wherever you want. They can be just down the sides or all over.
 
Pop your marbles in and off you go, roll away from side to side, top to bottom.
 
Make patterns and roll the marbles through as many blobs of paint as you can. 

Season & Date Calendar Wheel

These are fantastic, I love them and think they are a great learning tool but in a fun way. You can personalise this to suit your child's own likes, make it as big or small as you like. You may make your wheels as big as the cardboard. You design this how ever you want, this is just for you to use as a template for your own.

DAYS OF THE WEEK

MONTH OF THE YEAR

SEASON OF THE YEAR

Once I did the basics of writing in the information with a black marker, my 3 year old did all the decorating on her own. She was so proud of her art work and loved choosing the colours and stickers by herself.

You will need:
  • Cardboard of any size, colour or shape of your choice.
  • Extra cardboard to cut out 3 circles.
  • Brass fasteners (see picture below)
  • Coloured markers
  • Decorations - stickers, glitter, felt/foam shapes.
  1. Write out the days, months and seasons on each circle. I used a ruler to evenly mark out each section.
  2. Decorate the circles with colour.
  3. Push a hole (with a skewer or very tip of scissors) through the centre of the circle and through the cardboard where you will be placing the circles.
  4. Sit circle in place so the holes line up and push the brass fasteners through and then flatten out the back two arms to be flat against the cardboard.
  5. Decorate the entire sheet of cardboard.
  6. DON'T FORGET TO ADD AN ARROW so you know where to face the day, month and season to each day.

You can make more circle wheels if you would like with-
  • Weather for the day - Sunny, Wet, Cold, Snowing, Windy
  • Date of the month - 1, 2, 3, 4, etc
  • How I'm feeling today- Happy, Sad, Grumpy, Tired
Click here to see "Learning DAYS of the week".


    Make your own BUBBLE WANDS

    Grab some coloured PIPE CLEANERS and BEADS and your ready to roll.

    Make different shapes at the end, try a

    - circle
    - square
    - heart
    - diamond
    - star

    Kids can learn about shapes while making their wands.

    READ READ READ to your children EVERYDAY

    This is a TIP YOU WANT TO KNOW...... I found this article by Michael Grose (Parenting Educator and Author) and had to share the statistics he mentions about reading to children everyday.

    "Recent research quantified what we’ve intuitively known about children and reading. That is, the more adults read to children from an early age, the greater the impact on their reading and thinking skills.

    It was reported in The Age (3rd March 2013 )that a longitudinal study by The Melbourne Institute of Applied Economic and Social Research measured the link between the frequency of reading to a child and his or her development.

    "The study followed 4,000 children, aged four to five years in 2004 through to ages 10 and 11 and found that reading to a child six to seven days a week puts him almost a year ahead of a child who has not been read to. The study also found that children who were read to every day from a young age also have better numeracy skills in primary school."


    I have always LOVED reading to our kids and I have also found it has been of great benefit to our children as they have learnt so much through books. They often refer back to stories we have read when talking with us.

    If you don't read during the day, use night time to read to your children before bed as wind down time.

    http://www.parentingideas.com.au/Blog/March-2013/Read-daily-to-kids

    Sail your own ICE BOAT

    These ice boats are perfect for bath play or just to sail in a large tub of water.
    GREAT SCIENCE ACTIVITY - Teaches kids about floating and ice melting when it is placed in water.
    Make a few boats and float some in cold water and some in warm water to watch the difference in melting times.
    The boat may also leave a coloured trail behind as the food dye melts into water (adding extra food dye will make this happen).
    SING ROW ROW ROW YOUR BOAT while sailing the waters.

    You will need:
    • A rectangle shape plastic container
    • Straw
    • Blu-tack
    • Coloured paper to make as the sail
    • Coloured markers if you would like to decorate the sail (optional)
    • Either stapler or a hole punch (to attach sail to straw)
    • Water
    • Food dye (your choice of colour)
    1. Blu-tack straw to the bottom of the plastic container.
    2. Fill the container with water about 3/4 full.
    3. Add a few drops of coloured food dye and swirl to blend colour in.
    4. Carefully place into the freezer for a few hours or overnight.
    5. Once completely frozen, cut the coloured paper to a sail shape (triangle), the kids can decorate it if they wish or write a name on the sail for the boats name.
    6. Then either staple to straw or if its young children using this I prefer to put a hole punch at top and bottom of sail (see picture below) and thread onto straw leaving it slightly lose to represent a sail blowing in the wind.
    7. Now your ready to sail away!

    You can either float the boat in the bath or a large tub much bigger than the boat itself.
    It will slowly melt if using cool water.
    We also played this in our evening bath once so the water was warm, the boat melted much quicker BUT the kids still had a blast.


    LEARNING ABOUT MIXING COLOURS - Cognitive experience

    This is a great cognitive and sensory experience for children aged 2-5 years old.

    You will need:
    • Clear plastic containers
    • Food colouring (RED, BLUE, GREEN, YELLOW)
    • Water
    • Ice-trays
    • 4 plastic cups
    • Straw or spoon to stir
    1. A day ahead of the activity or the night before, fill the 4 plastic cups with water and add a few drops of colour separately to each cup. So one red water cup, one blue water cup, one yellow water cup and one green water cup.
    2. Pour the coloured water into the ice trays so you have an even amount of all 4 colours and then FREEZE.
    Once you have made your coloured frozen ice cubes, you can begin the activity.

    PLEASE NOTE: If you have only made small coloured ice cubes, you will only need small clear containers or bowls, otherwise the food dye wont make a big impact when dissolving into the water.
    1. Fill clear plastic containers half full with water.
    2. Get your children to drop one of each of the coloured ice cubes/blocks into different plastic containers and you can watch it slowly dissolve and change the water that colour. Your child can use a spoon to help swirl it around. 
    3. Once the water has changed, drop a different colour into the water, again watching it dissolve and change the water as the 2 colours mix. FOR EXAMPLE: Add a YELLOW ice block first and then add a BLUE ice block and as your child stirs it around, the water will become GREEN.
    Colours to try:

    Yellow + Red = Orange
    Yellow + Blue = Green
    Blue + Red = Purple
    Red + Green = Brown

    Try other mixes and then once you make a new colour, try adding that with other containers to see what colours of the rainbow you can make :-)

    Your child may even create their own unique colour while mixing!

    Make your own 3D PET BIRD picture....

    This activity offers children a range of learning skills and expands their creative side letting their imagination explore a range of colours, textures and design.

    Let them choose what to put where. Using real life materials like the feathers and tree branches makes this 3D project really come to life.

    First explore your yard or local park. Then home to make it all. 

    Here is a fun arts and craft project to do with your kids, they will love this one!
     
    You will need:
    • A canvas picture square to hang on the wall once made (you can use cardboard).
    • Real birds feathers (you can buy these if you cant find them).
    • A twig, small tree branch (similar width of canvas you are using).
    • PVA glue.
    • Green felt pieces or cardboard or paper.
    • Little bugs or insects (I used foam ones, but stickers will work too).
    • Textas, pencil and eraser.
    • Googly eyes.
    • Coloured sequences.
    1. Using a pencil, draw your bird- I copied a picture from a kids book of a bird we liked. Then I added extra bits like a branch he was standing on.
    2. Glue on feathers, roughly checking first where they will go and how many you will need to cover the whole bird (except head).
    3. Outline the bird with a thin black marker.
    4. Glue on eyes and any extra sequences or decorations you would like.
    5. Glue on tree branch or green felt cut to the shape of grass and length of canvas.
    6. Finally colour any last parts you think need to be.
    7. Stick on bugs and insects.
    8. Leave flat overnight to make sure PVA glue has completely dried before hanging up (If you do not leave it to completely dry, the objects will slide off and glue will drip off picture).
    This is the book picture I copied

    Older Post ►
    eXTReMe Tracker
     

    Copyright 2011 Kids Activities & Tips is proudly powered by blogger.com